|
|
|
Home << Product Main << Bullet Cam Main |
|
|
Installation Guide of Bullet Camera |
|
|
|
|
|
|
|
|
Click pictures to view the enlarged version... |
|
|
|
|
|
|
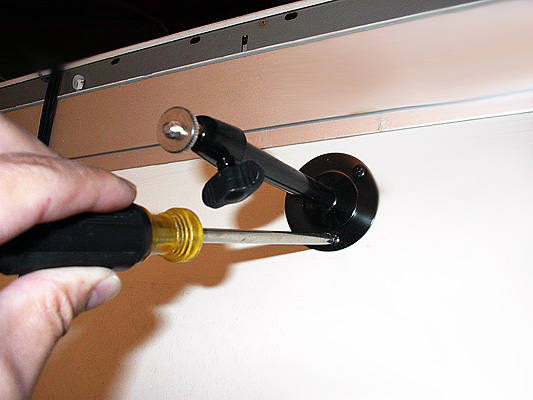
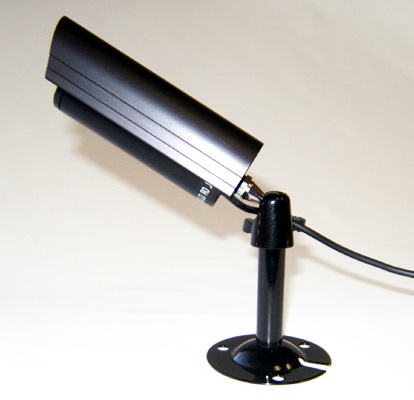
1. Choose your camera location and install the camera mount bracket firmly. |
|
|
|
|
|
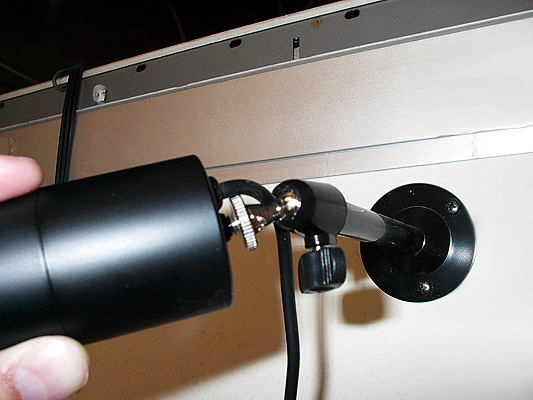
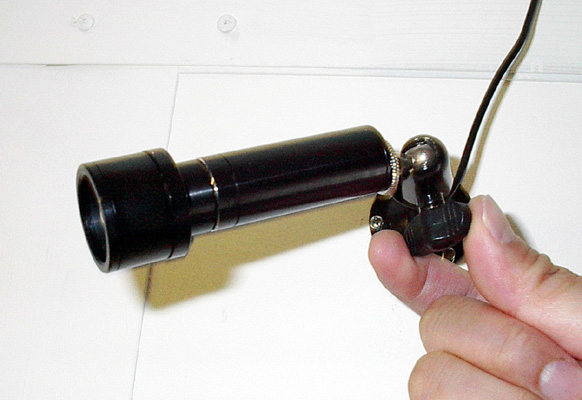
2. Screw the camera to the universal joint screw that affixed on the camera mount bracket firmly. |
|
|
|
|
|
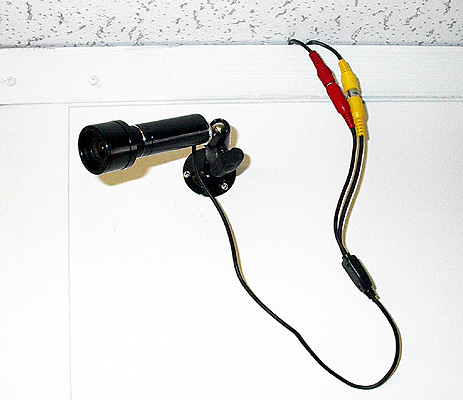
3. Layout the cable laying it behind ceiling or around corners of the room to the camera location from recording device or outcome display monitor and connect the video, power, and audio cable (if available) of the camera. |
|
|
|
|
|
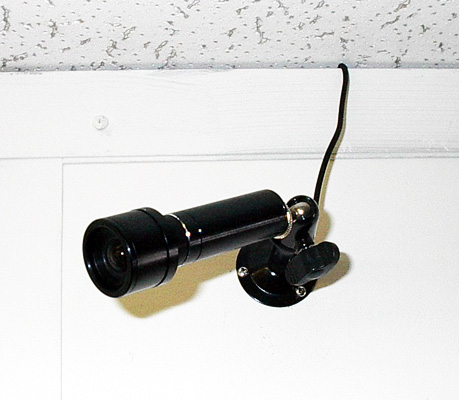
4. Hide unwanted portion of the cable behind ceiling for clean professional appearance. |
|
|
|
|
|
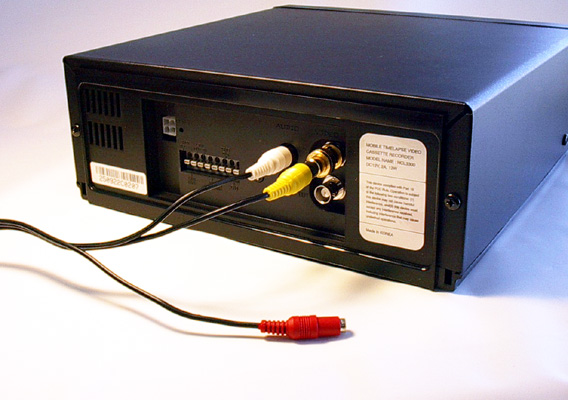
5. Connect the other end of the cable as Yellow to Video-in & White to Audio-in (if available) on the back of the recording device or outcome display monitor (if connecting directly to the monitor), then Red to the included 12V power transformer or your own 12V power source. |
|
|
|
|
|
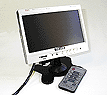
6. Connect the other end of the cable to the outcome display monitor either directly from the camera or recording device (if the camera is connected via) as the connection procedure explained on 5 and power up all equipments that connected the system. |
|
|
|
|
|
7. Go to the camera location and unscrew the joint knob of the camera mount counterclockwise to loosen up. Then adjust viewing angle of the camera looking at the connected monitor and tighten back the joint knob turning it clockwise firmly when the camera-viewing angle is adjusted as desired. |
|
|
|
|
|
8. When the monitor location is out of viewable range from the camera, one more person to be needed to assist on correcting the camera-viewing angle while the other person is adjusting the actual camera angle at the camera location. |
|
|
|
|
|
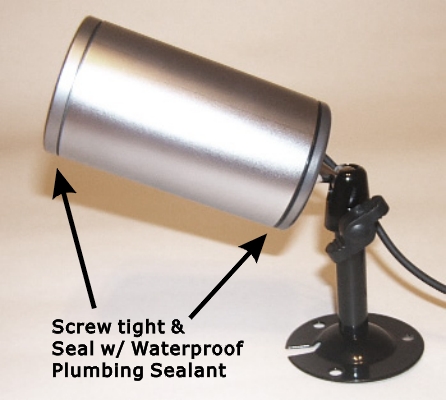
9. Make sure to tighten up all screwed portions where arrowed points as shown on the left picture and suggested to seal them with any conventional waterproof plumbing sealant when the camera is installed outdoor and especially exposed to harsh environments. |
|
|
|
|
|
10. Make sure to put on the included rain & sunshield (if available) when the camera is installed outdoor. |
|
|
|
|
|
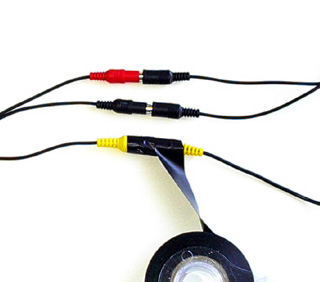
11. Make sure to wrap around all cable connections securely with the electrical tape when it is intended to leave outdoor for long time. |
|
|
|
|
|
|
|
Monitor-Alarm-DVR | Networking Cam | Underwater Cam | Portable Gadget | Bullet Cam | GPS |
|
|
Accessory | Covert Cam | Night Vision Cam | PTZ Varifocal Cam | Voice Recorder | Wireless Video |
|
|
|
|
|
|
|
|
Home | About Us | Contact Us | Tech-Support | Product | Directory |
|
|
|
|
|
|
|