|
|
|
Installation Guide of Day Night Video Micro Board Camera |
|
|
|
|
|
|
|
|
Click pictures to view the enlarged version... |
|
|
|
|
|
|
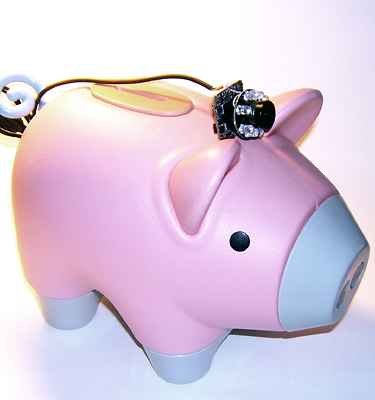
1. Choose your camera location and stabilize the camera with any form of fasteners. |
|
|
|
|
|
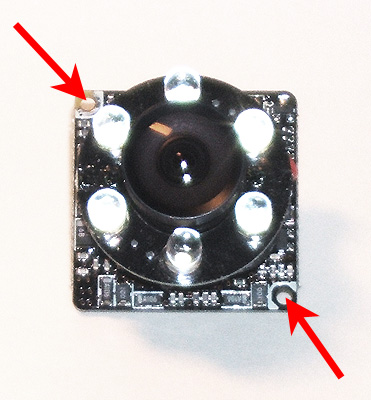
2.
The camera also can be affixed on an object screwing
through two corner holes
shown on the left photo to the back of the camera with proper size
screw nails. |
|
|
|
|
|
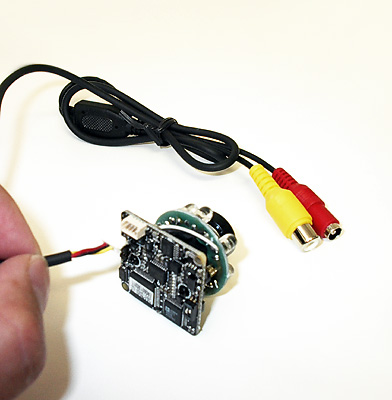
3. Plug the cable prong to the back of the camera. |
|
|
|
|
|
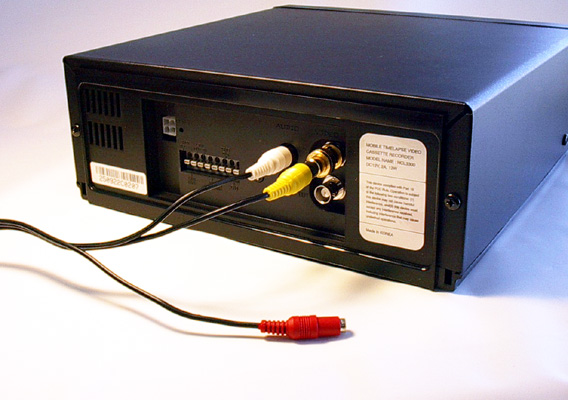
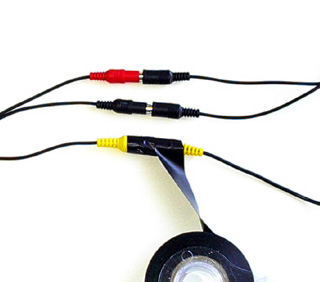
4. Connect the other end of the cable as Yellow to Video-in & White to Audio-in (if available) on the back of the recording device or outcome display monitor (if connecting directly to the monitor), then Red to the included 12V power transformer or your own 12V power source. |
|
|
|
|
|
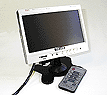
5. Connect the other end of the cable to the outcome display monitor either directly from the camera or recording device (if the camera is connected via) as the connection procedure explained on 5 and power up all equipments that connected the system. |
|
|
|
|
|
6.
Go to the camera location and adjust viewing angle of the camera
looking at the connected monitor. |
|
|
|
|
|
7. When the monitor location is out of viewable range from the camera, one more person to be needed to assist on correcting the camera-viewing angle while the other person is adjusting the actual camera angle at the camera location. |
|
|
|
|
|
8. Make sure to wrap around all cable connections securely with the electrical tape when it is intended to leave outdoor for long time. |
|
|
|
|
|
|
|
|
|
|
Home | About Us | Contact Us | Tech-Support | Product | Directory |
|
|
|
|
|
|
|